

On February 14, 2014, my Yamaha R15 was stolen. The heartbreak I felt was indescribable. I spent days running from pillar to post. I wanted to get the police report filed. I desperately hoped the police find my motorcycle. Adding to my distress was the fact that I still had a year left to pay off the EMI. The feeling of owing money on a vehicle that was no longer in my possession was gut-wrenching.
Despite all efforts, my first motorcycle, the one I’d bought with my own hard-earned money, was never found. The process with the police and insurance dragged on for months. I eventually received a partial settlement from the insurance, but the emotional loss lingered long after. I was without a motorcycle for almost two years, gathering my finances before I could buy another. That bike was more than a vehicle; it was a symbol of freedom, achievement, and deeply personal journeys.
I share this story now for a reason. Recently, I’ve noticed many crowdfunding campaigns popping up. Travelers lose their vehicles when they are stolen during trips. Then, they ask the public to sponsor a new vehicle to continue traveling. I genuinely empathize with the shock and pain such a loss brings, especially when valuables and cash are lost too. It’s a stressful, disempowering situation. The first steps in such a crisis are always clear. Report the theft immediately to the nearest police station. File an FIR. Notify the insurance company. Each of these actions is vital for any hope of recovery or compensation. Then, reach out to friends, family, or well-wishers for enough help to return home and regroup safely.
What feels out of step to me, however, is asking strangers to finance a replacement vehicle. The financing request is solely for the purpose of resuming personal travel plans. Travel is a privilege, an aspiration, not a right. Seeking help in a moment of crisis to get out of harm’s way or to make it back home is valid. It is compassionate. Still, expecting the public to underwrite the cost of resuming a private journey crosses a line for many. In these situations, community support is best directed towards immediate, essential needs, shelter, safety, and getting home. Not towards fulfilling lifestyle aspirations.
Empathy is essential. Anyone who’s lost something so meaningful can imagine the pain. The best course for one’s own growth is to first focus on recovery and personal safety. This approach preserves the spirit of community support. Regrouping and personal safety are priorities, not continuing what was a discretionary journey by its nature. Resilience often means regrouping, reassessing, and returning stronger, without shifting the burden of personal dreams onto the kindness of strangers.
Let’s ensure our support is compassionate and fair. We must keep safety and regrouping in focus. Facing loss with courage maintains dignity in crises.

Let me tell you about the day I picked up my Himalayan 450. I’d been riding the old 411 for five years. That trusty thumper taught me everything about adventure riding. I loved that motorcycle—it was a tractor. It would simply chug along no matter what terrain you threw at it. It was simple, honest, and carried me through some epic rides across our incredible country.

The Moment I Knew Things Had Changed
The first time I fired up the 450 was in Goa, during Motoverse, before the official launch. Something was different right away. It wasn’t the old-school Royal Enfield that would rattle my mirrors. Instead, I got this smooth, refined purr that honestly made me question if I was still riding a single-cylinder thumper.
My real test came about six months later, on a ride into the Himalayas. I took the exact route I’d done multiple times on the 411. This time… man, it felt like I was riding a completely different machine.
Those Mountain Trails Changed My Perspective
You know that feeling on the 411 when you’re climbing endless switchbacks and high passes? The engine struggles to breathe, especially climbing towards Umling La. You’re constantly feathering the throttle, coaxing it along.
Well, throw all of that out the window with the 450.
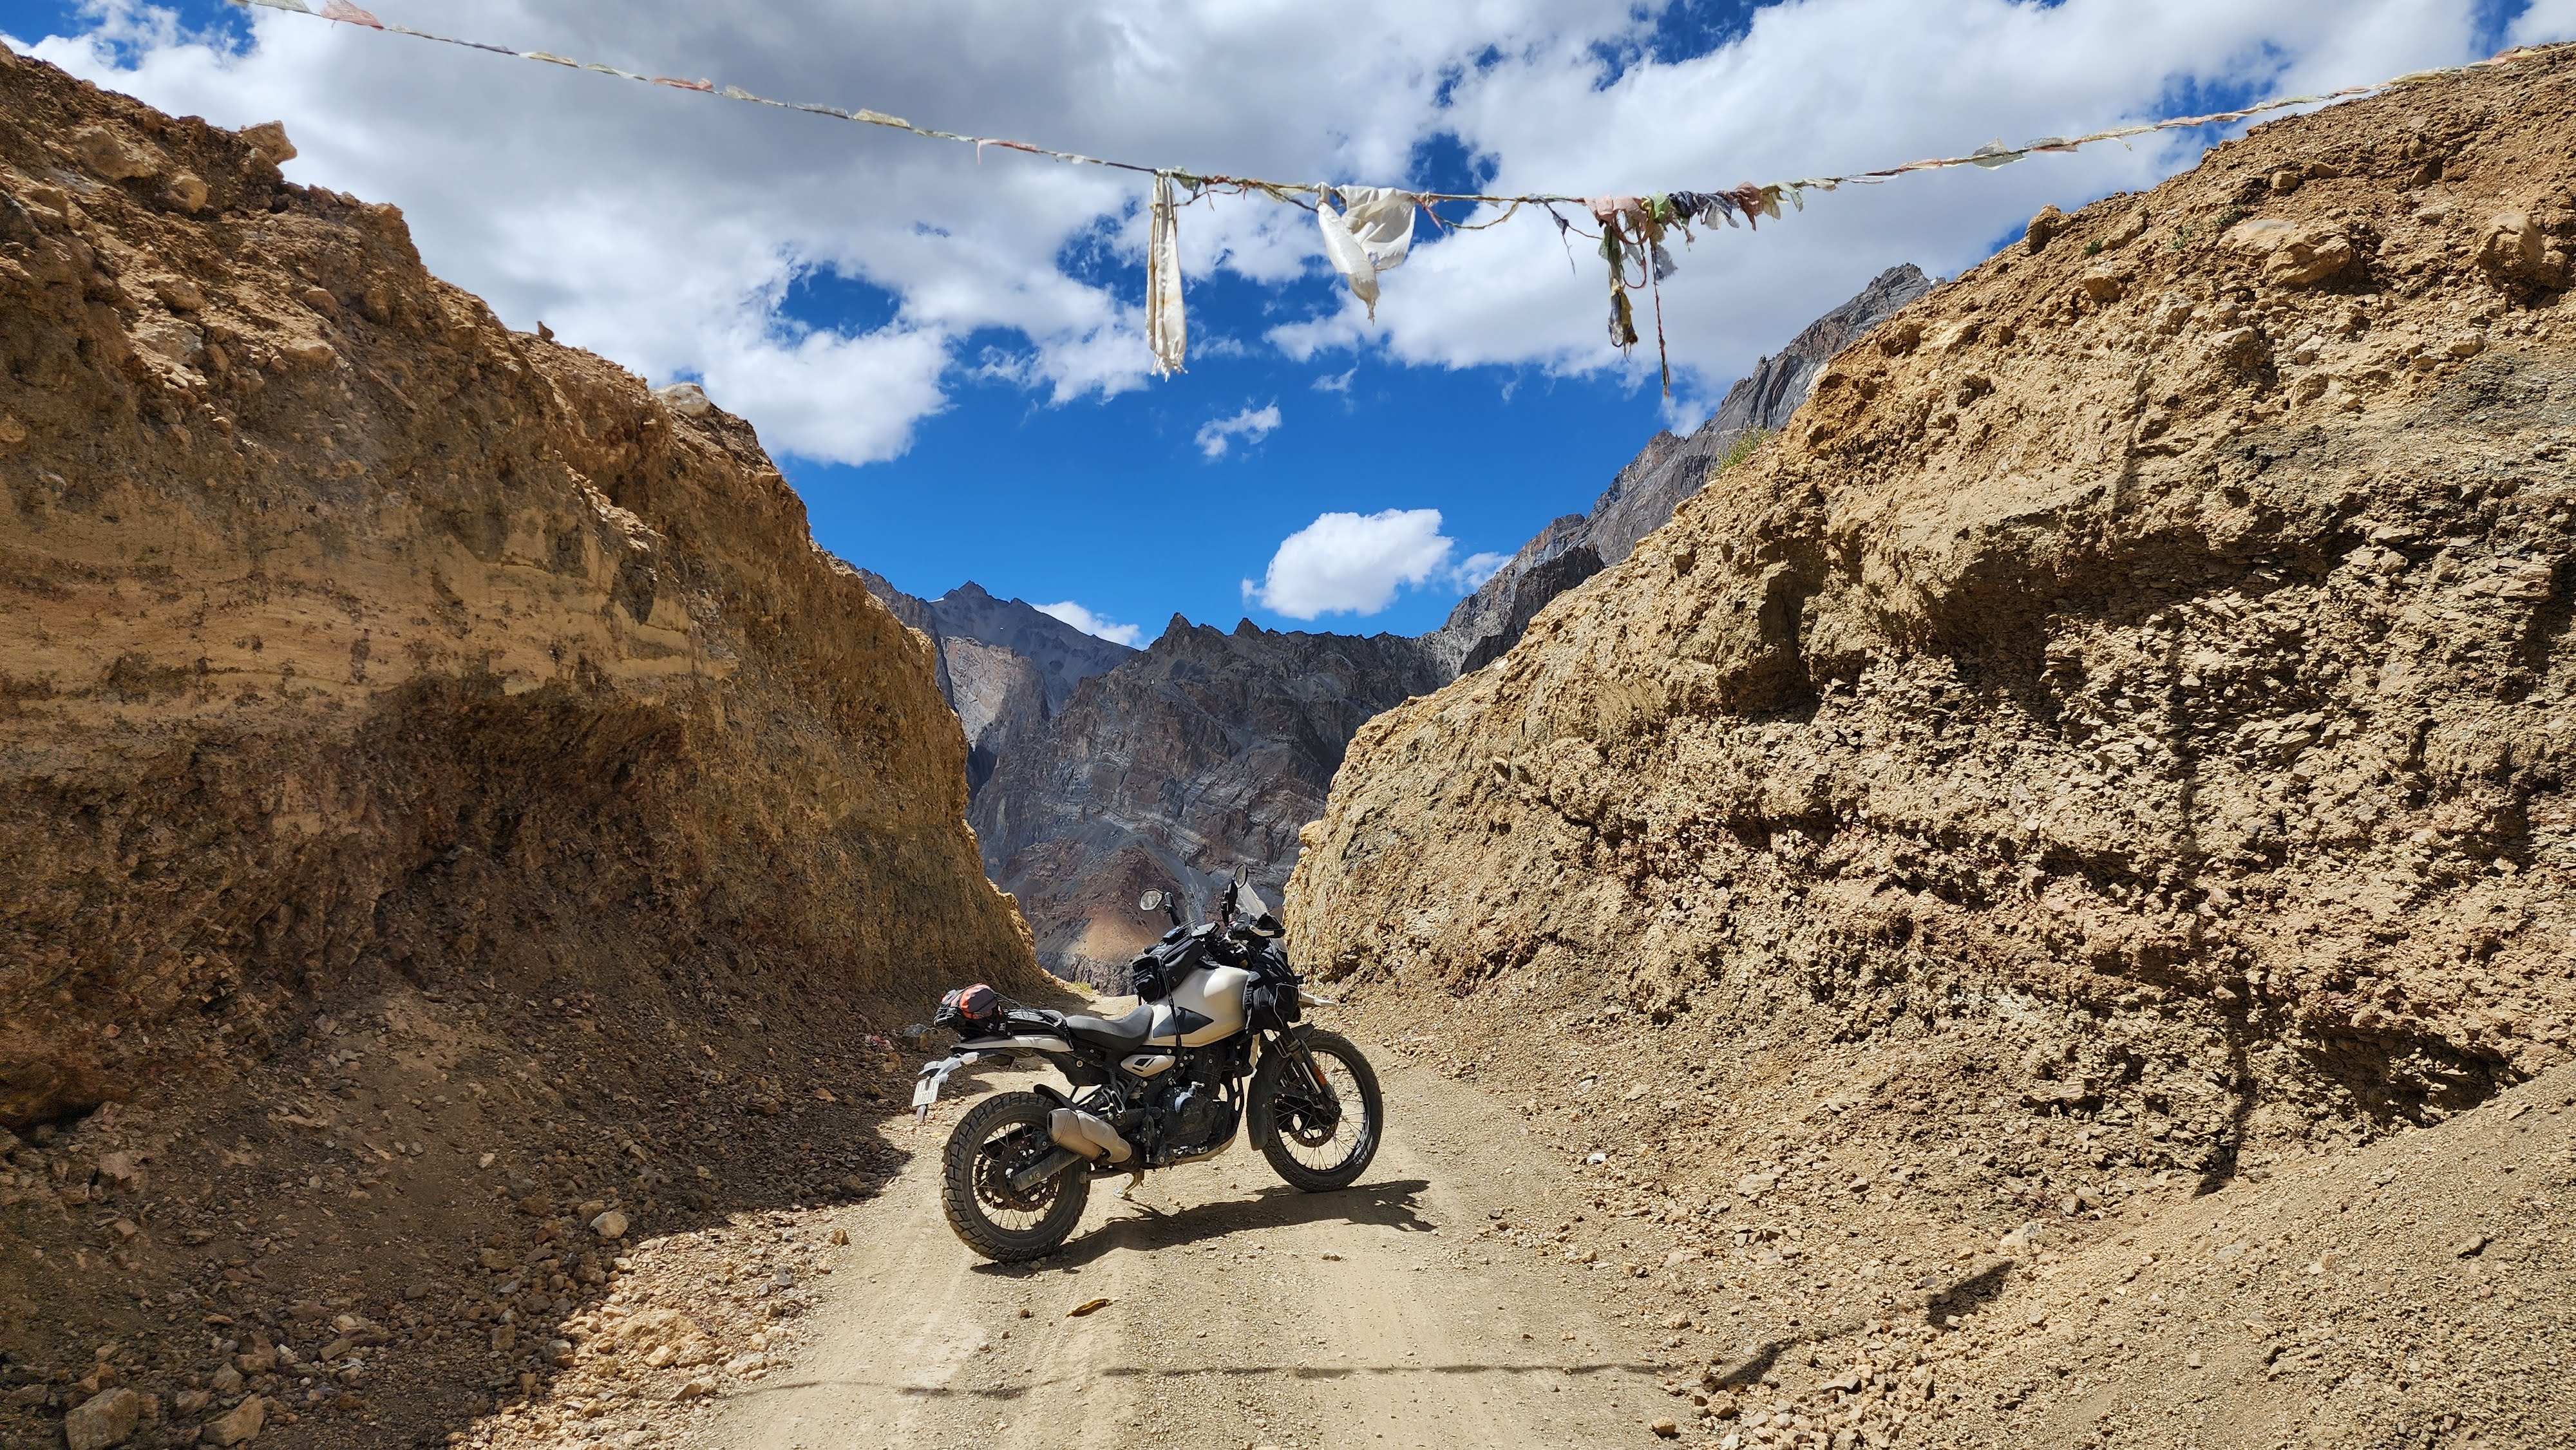
I remember one steep, loose-gravel climb that always got me anxious on the 411. On the 450, I just pointed it uphill, rolled on the throttle, and the motorcycle pulled cleanly, smoothly, without any drama. It almost felt boring because it was just that effortless.
And the comfort, I can’t stress this enough. My 411 had a custom Zedling suspension setup that worked brilliantly. But the 450? That Showa SFF suspension is probably one of the best-tuned stock suspensions I’ve ever ridden. Straight from the factory, with zero tinkering, it just works.
Highway Riding: Night and Day Difference
This is where the 450 really showed its colours. Remember how the old Himalayan would be shaking itself silly at 100 kmph? And overtaking meant plotting your move two kilometres in advance and praying something didn’t come in the opposite lane? Of course, I’d fixed some of that on my 411 with the Booster Plug and other mods.
But on the 450, I found myself cruising effortlessly at 130–150 kmph. The bike was so composed, so smooth, that I had to glance at the speedometer to believe it. Overtaking became… trivial. Just a simple downshift and you’re past. And this, remember, was on a stock setup.
The Little Things That Matter
It’s funny how you don’t realize what you’re missing until you experience something better.
The Instrument Cluster: The new color TFT screen is clear, loaded with essentials, and pairs with your phone for maps. The old compass on the 411 had a mind of its own—good riddance.
The Tank: The 450’s narrower tank means I can actually grip it with my knees during off-road sections.
The Seat: The stock seat isn’t perfect, but it’s miles ahead of the mushy perch on the 411. Plus, RE now offers factory seat options—rally, touring, and even a lowering seat. Game changer.
Where It’s Not Perfect (Let’s Be Real)
Like I said, I’m not here to sell you a brochure. The 450 does have a few flaws:
- The headlight is useless, period.
- That stock seat could still use more padding (I bought both the rally and touring seats).
- The stock windscreen? Too short. The tall windscreen is perfect, it cuts helmet buffeting while still letting air cool the body.
- The front feels a little nose-heavy when hopping over obstacles. Technique helps, but you’ll notice it.
- It leans too much on its side stand; the 411 stood almost too straight, this one’s the opposite.
- Throttle response has a slight lag—thanks to emissions tuning. Nothing abnormal post-BS4. I’ll be working on a solution.
Then there’s the price. At ₹3.5 lakh on-road (Bangalore, Dec 2023), it’s about a lakh more than what I paid for my 411 in 2019. But honestly? That lakh actually buys you good equipment and usability—not just paint jobs and stickers.
The Competition? Yeah, I’ve Ridden Them Too
A buddy handed me his 2025 KTM 390 Adventure a few weeks ago. Over a lakh more expensive. It’s fast, loaded with tech—cruise control, fancy TFT, electronic aids, you name it.
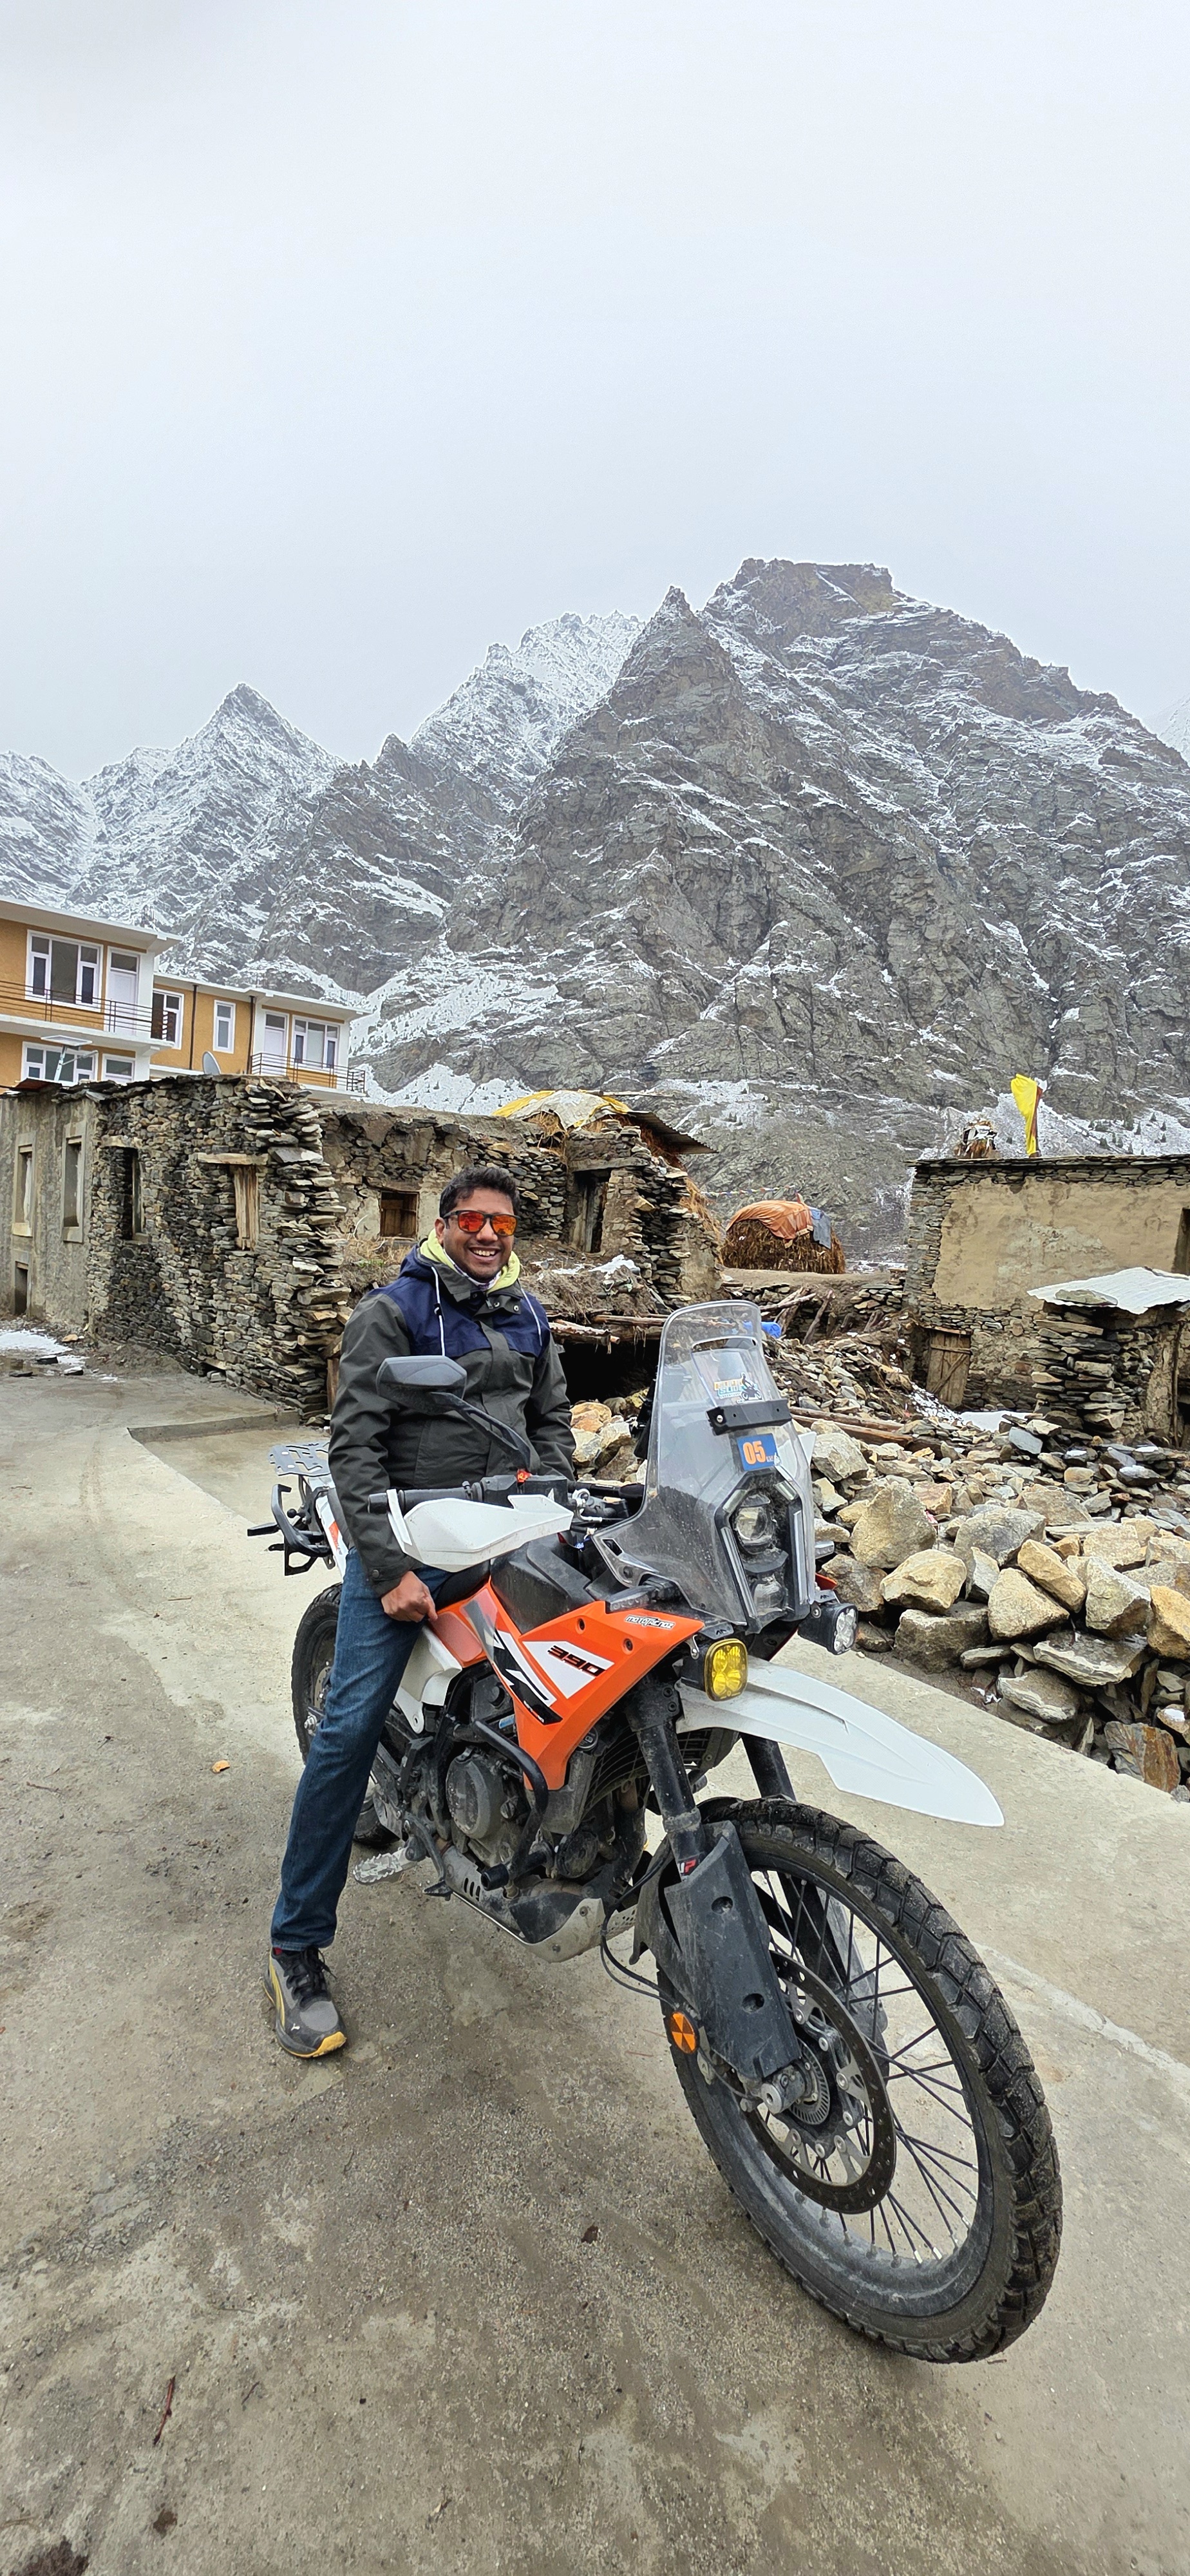
But after 200 km, I was itching to get back on my Himalayan. Not that the KTM is bad—the 390 Adventure feels like a sport bike disguised as an ADV. The Himalayan, in contrast, feels like it was made for Indian touring, even with a pillion.
Remove the tank frame and tail rack, and the RE practically sheds the KTM’s weight advantage. Plus, the KTM really needs luggage add-ons to be touring-ready, while the Himalayan is already built with that purpose in mind.
The KTM might look sharper on paper; the Himalayan just feels right. It connects.
My Honest Take
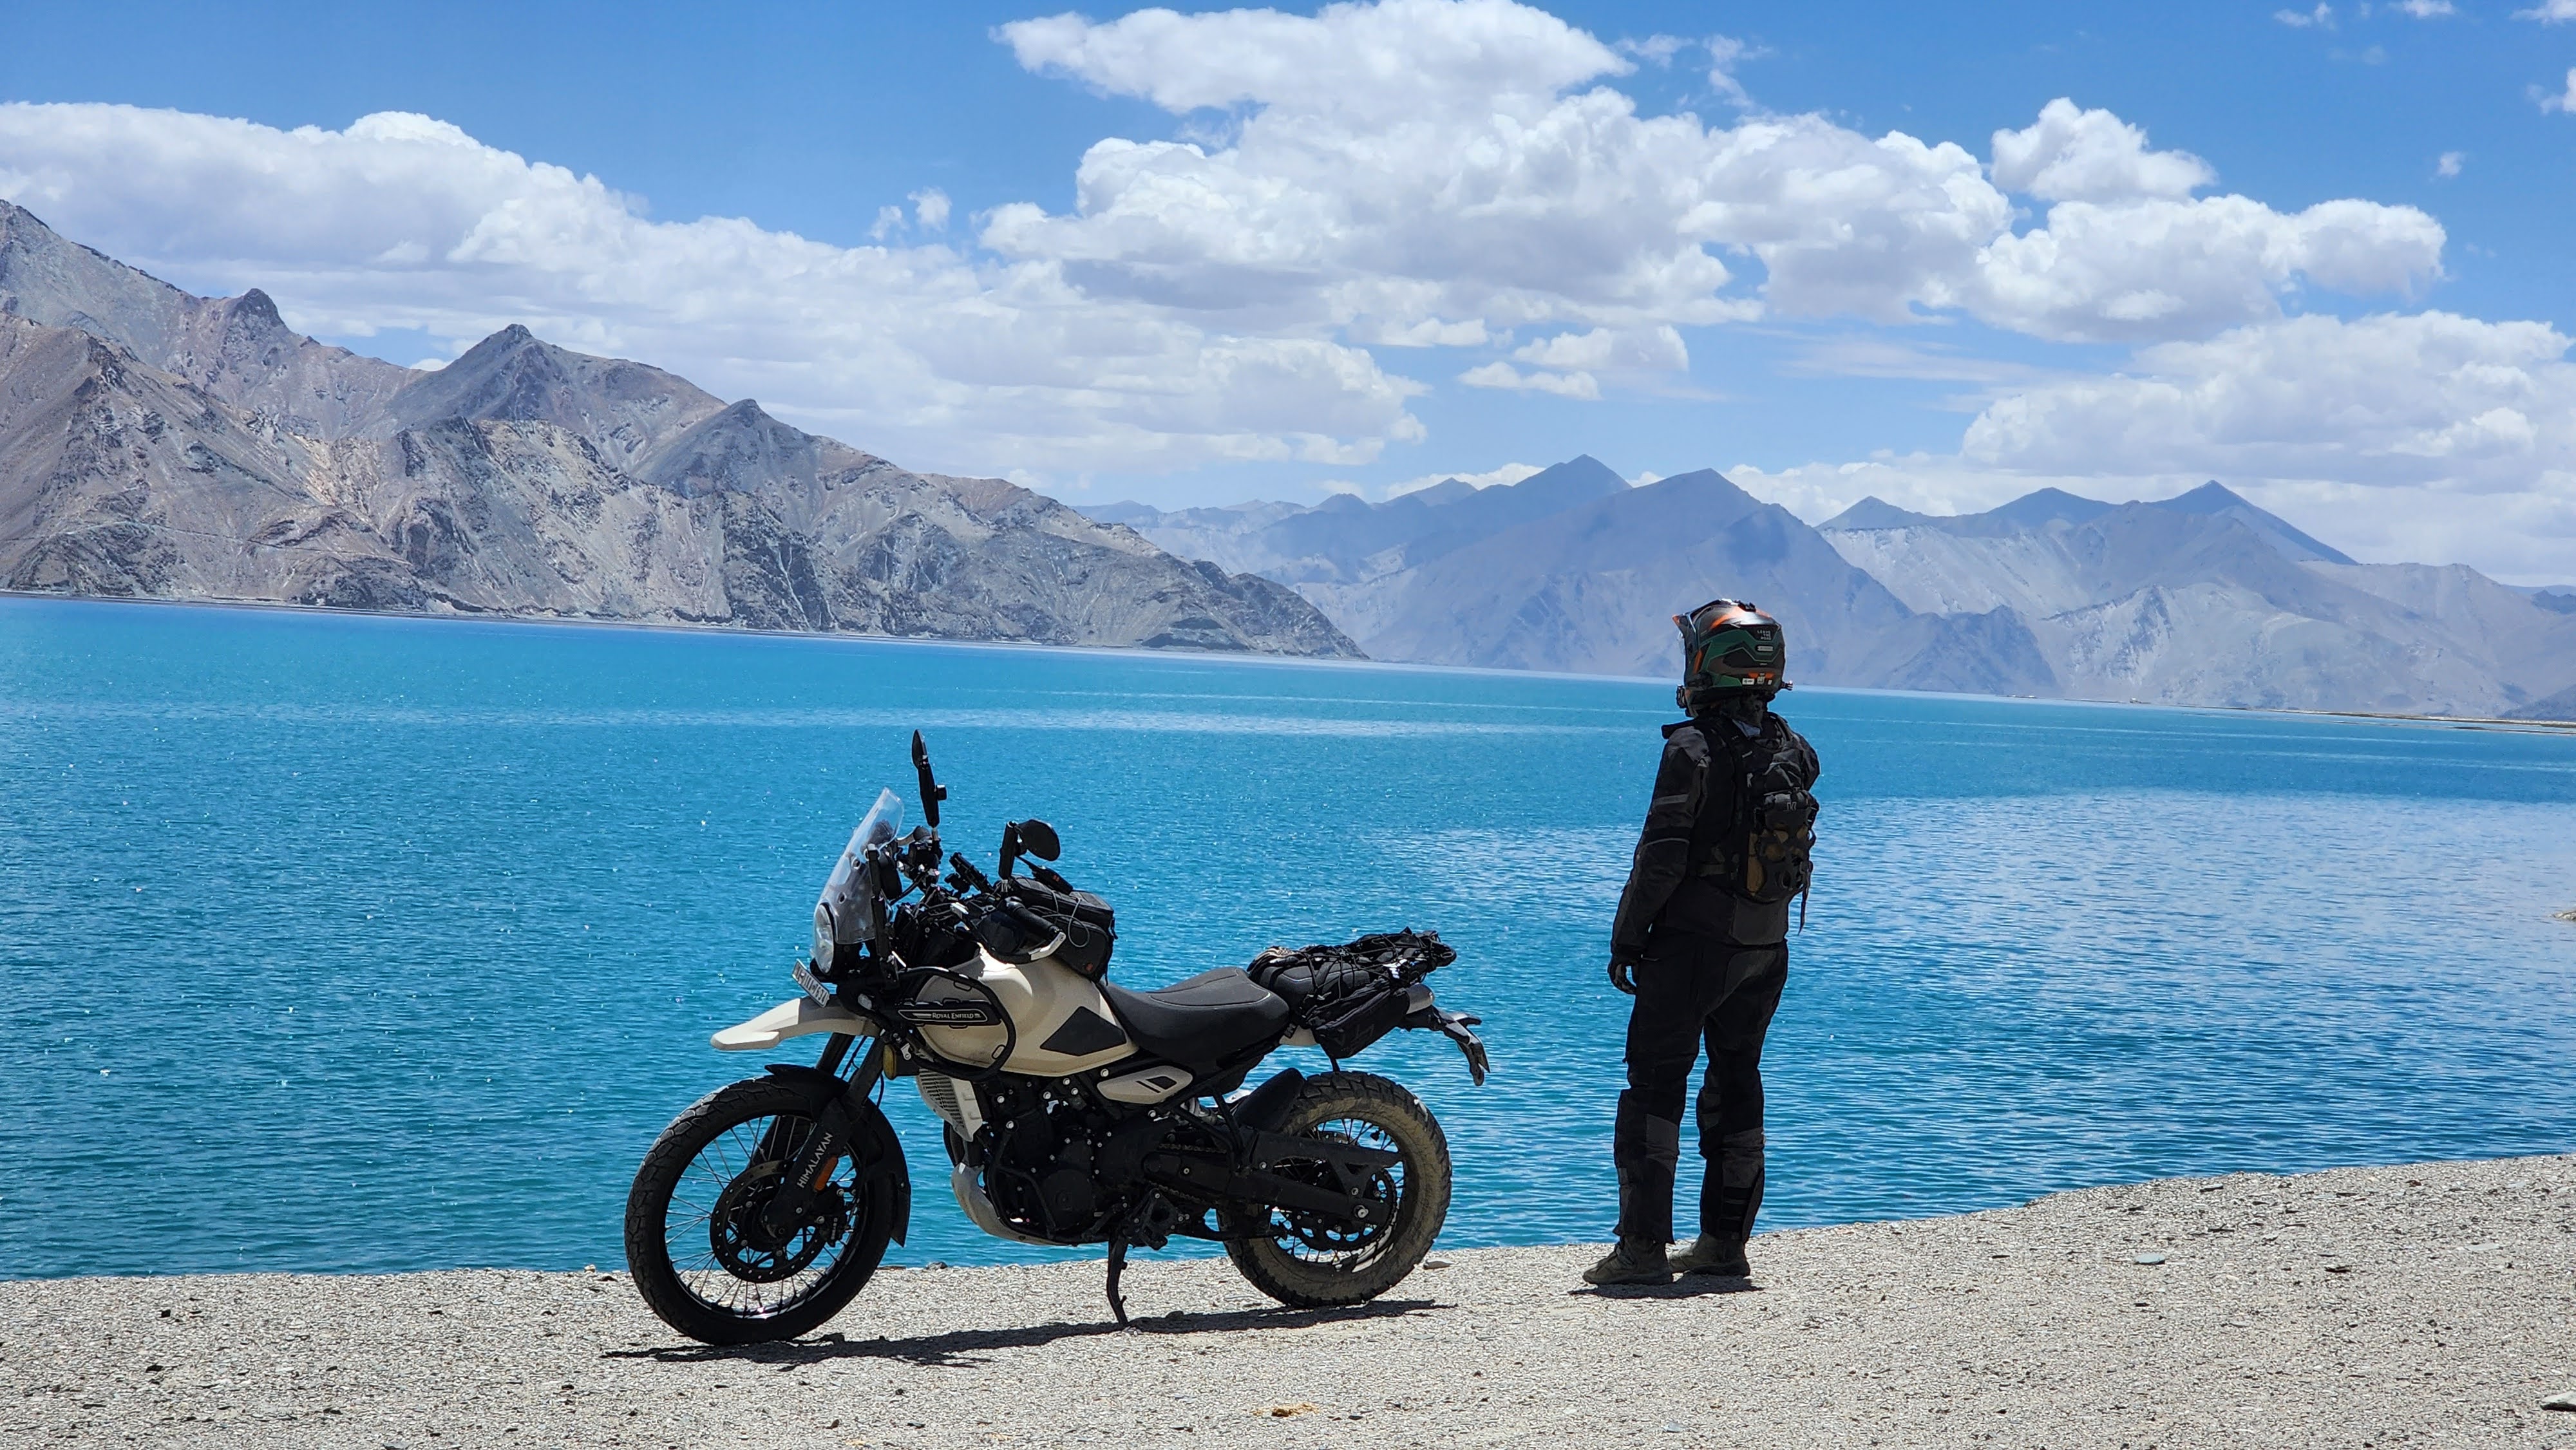
20 months. 10,000 kilometres. Add a few broken bones in between (off the bike, long story).
And I can say this—the Himalayan 450 has ruined me. Every time I see my old 411 parked in the garage, I feel a pang of nostalgia. But there’s no going back. The 450 does everything the 411 did—only better. Way better. I eventually sold my 411. That says a lot, because anyone who’s ridden my tuned 411 knew it was special.

The 450 is comfortable enough for Bangalore traffic, capable enough for serious off-road trails, and smooth enough for long highway runs. I recently even did a Bangalore – Pune ride in the monsoons on rough highways, it was a breeze.
If you’re on the fence about upgrading from your 411, or thinking of the 450 as your first ADV, stop overthinking. The 411 is a tractor, and many of us loved it for that. The 450? It’s still a tractor, just one on steroids.
The Bottom Line
Royal Enfield didn’t just update the Himalayan; they reimagined what an Indian ADV should be. It doesn’t try to mimic a European tourer or a Japanese sport-tourer. It’s unapologetically made for our roads, our riding conditions, and our adventure dreams.
Honestly? It’s almost blasphemous to still call it the Himalayan. It feels like an entirely new motorcycle.
And that’s exactly what we needed.
It’s a great time to be a motorcycle traveller in India. A ton of options are hitting the market, and I always say this: the best motorcycle is the one in your garage.
Ride safe, ride far.
PS: Maintenance has been simple, just like the old 411. Same RE affordability, but with way more refinement. Perfect for folks like me who love cleaning chains, tinkering, and doing the basics ourselves. It’s still a fixable, honest machine at heart.

As an avid adventurer and motorcyclist, I have always sought out the best suspension system for my Royal Enfield Himalayan. Not that the stock ones are bad. You see, manufacturers can only do this much when it comes to tuning a suspension. Every one of us uses motorcycles differently. Weigh different and carry different kinds of luggage as well. This calls for a custom tune of the suspension which may be beyond the capabilities of the stock setup. Let me start with two clear concerns I had. One, when doing high speeds on the highway, the front would feel like a pogo stick and give a slight wobble, especially over 110kmph. Those of you who know my motorcycle, are aware that it touches 140kmph with ease, more on that here. I was never able to use the motorcycle to the full potential on highways due to this pogo stick wobble. I tried using a heavier grade fork oil, which sorted the issue out but messed up the off-road handling. The stock rear suspension is not serviceable. Secondly, the suspension would bottom out if I went a tad aggressive on a technical trail. The concern was the default sag was quite high and it left little room for the suspension to play and do its job. You must keep in mind that the motorcycle was designed to keep a low seat height in mind. Also not exactly designed to go all guns blazing on the highway either. What I was trying to do was get more out of an already optimal setup of a suspension. After doing extensive research and talking to fellow rider, Sarath Shenoy, I decided to give aftermarket suspensions a try. And let me tell you, it is probably the best upgrade one can do on a motorcycle.

I took some time to zero in on Zedling Suspension. There were two key reasons I opted for them. Firstly, the cost. The two other brands, imports, were almost double or more than the cost of this one. This being an Indian brand based out of Pune meant cost saving & accessibility. But what made me finalize this brand was how the product is offered to an individual. These were not just off the shelf products for motorcycles that you just buy, fix, and hope it works. The team takes key inputs from you, including your weight, the luggage weight, riding with pillion or not, even on the kind of usage. In fact, I was a little peeved at trying to get all that information they asked for on the product request form. But boy can this information do wonders. They would then customize the suspension tune as per your requirement and set up your motorcycle. This level of customization and the price made me swing to giving this brand a try. Oh, I almost missed out mentioning that the whole suspension unit, front and rear is fully serviceable for life. For the Himalayan, they include preload adjustability at both ends. I have kept them in a balanced state of tune, and they function brilliantly.
Though they are based out of Pune, Zedling Suspension have tied up with various workshops around India to be their service centers. I reached out to Highlander, who is their representative in Bangalore. It is a 3-week process from placing the order online to sharing the attributes and to getting the date of delivery at Bangalore. Once received, it’s a day job at Highlander to get it fixed, up and running.
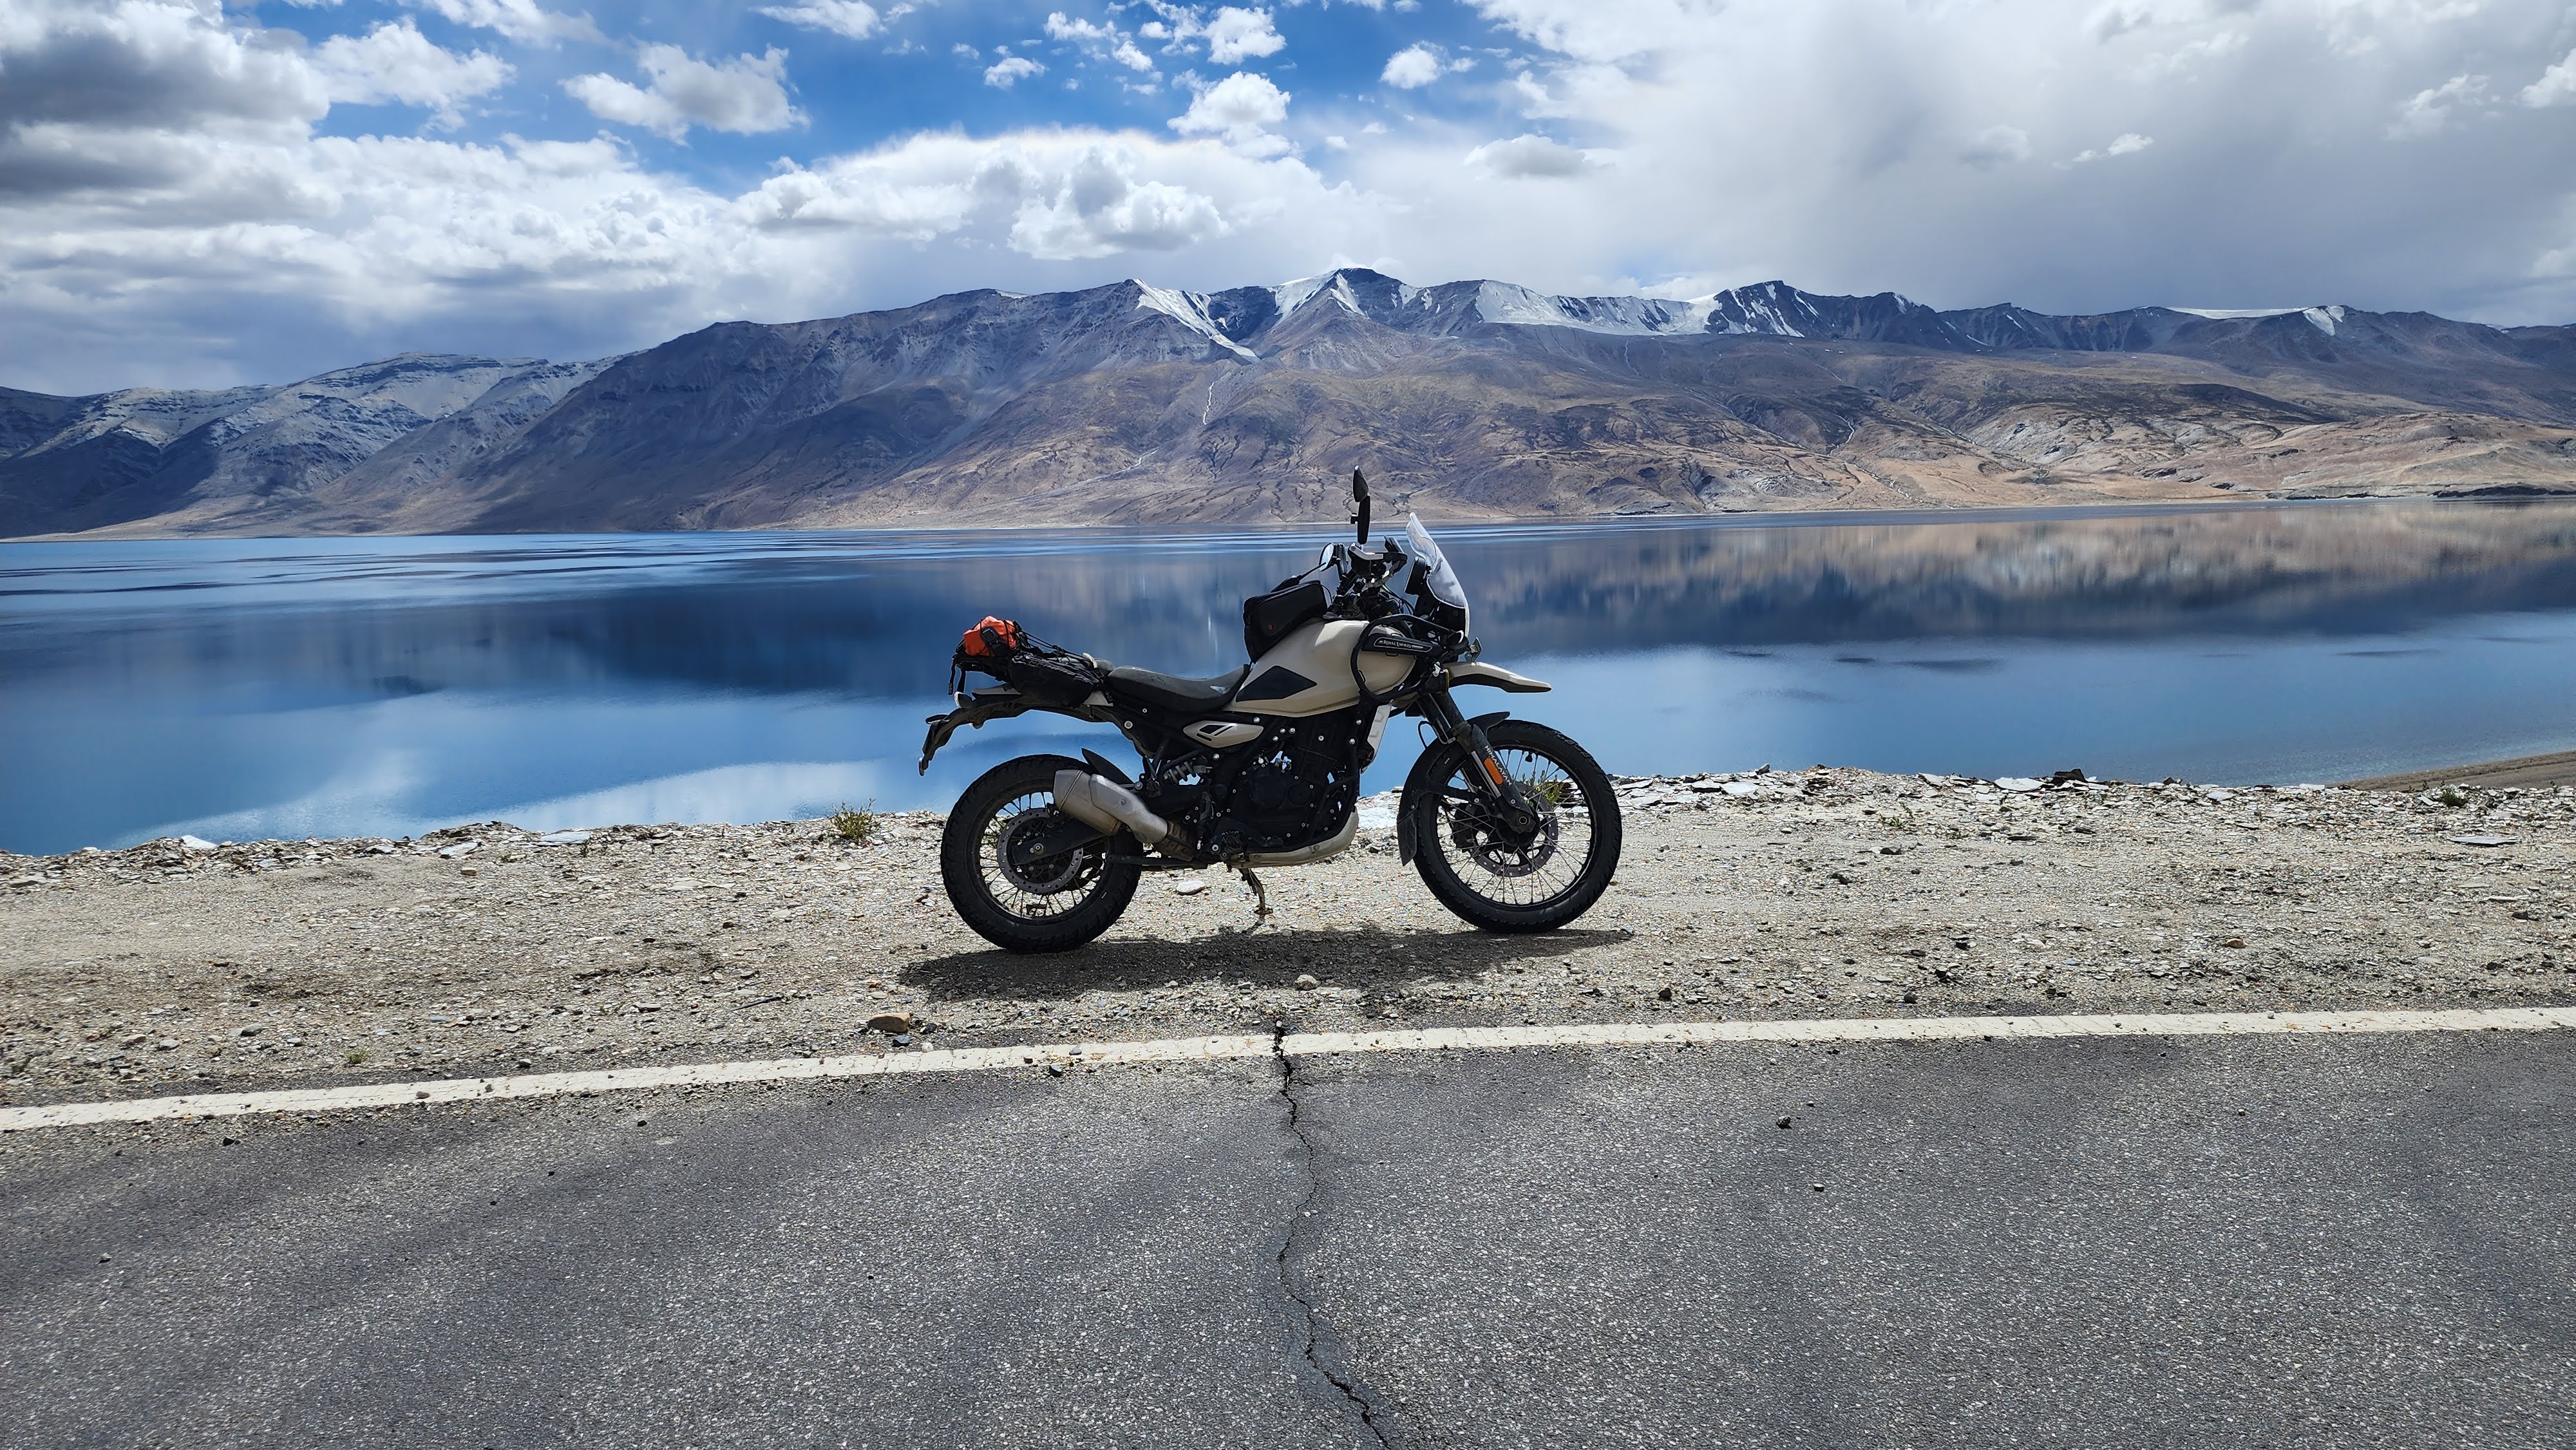
Over the past 30,000km I have put my Zedling suspension to the test across various terrains, including the treacherous roads of Zanskar, Spiti, the trails of Western Ghats as well as competing in a few off-road events. Add to that a tonne of highway runs too. And through it all, my suspension has held up remarkably well.
To go in detail, I can now see that I am able to maintain much higher speeds on curves or bumpy sections as the motorcycle feels a lot more planted on road. This has helped keep up my average speeds overall. The suspension is progressive in nature, in layman terms, when it comes across a bad patch, the suspension reacts immediately and begins to harden as it reaches the end of its travel, thereby avoiding a bottom out. This nature makes it a breeze on highways, any small undulation or pothole is just eaten up without unsettling the ride. And there is no pogo stick feeling or that wobble I had talked about earlier. Off road as well its handling things very well, no matter what I throw at it. I can carry higher speeds while staying more in control of the motorcycle. As sag is less, the overall seat height is a tad higher than earlier. Honestly, I can’t convey enough on how different this motorcycle feels now.
One of the things I love about my Zedling suspension is the level of customization available. The suspension is tailored to my specific needs and riding style, which has made a significant difference in how my bike handles on different terrains. I can feel the difference in how the suspension absorbs the bumps and rough patches, providing me with a smooth and stable ride. And this can be tweaked every time you service the setup, with varying oil and gas combinations. Oh, yes, the rear suspension uses a combination of oil and nitrogen gas for the right tune.
A standout moment for me was during off-road competitions, the Hill Climb at RE Ride Mania & the Trail Attack V at Big Rock Dirt Park. The suspension proved to be a game-changer, allowing me to take on obstacles and jumps with a lot more confidence. It was a testament to the quality and performance of the Zedling suspension system.
Another thing that sets Zedling apart from other suspension systems is their focus on durability. The Zedling suspension is made with high-quality materials that are built to withstand the wear and tear of rough terrains and long rides. After 30,000km, my suspension still feels as good as new. I have serviced it once recently and it did not cost a bomb. Though it took a little time as the rear shock needs to be sent to Pune for service. So, one needs to plan for the same. The recommended service interval is every 25,000km.

Lastly, I want to mention the excellent customer service I received from the team at Zedling. They were incredibly knowledgeable and helpful in guiding me through the process of choosing and installing my suspension. And even after my purchase, they were always available to answer any questions or concerns I had. Ritesh specifically was ready for every nagging doubt I had. For your service, you just need to log onto the website and raise a service request and go to the nearest representative. They will take care of the service and any logistics required for the same.
In conclusion, if you are looking for a top-of-the-line suspension system for your motorcycle, I highly recommend Zedling Suspensions. It has been a game-changer for me.
Just reiterating I bought this product at full cost and used it for over a year to write this as a first-hand experience.


